
Last updated September 10, 2026
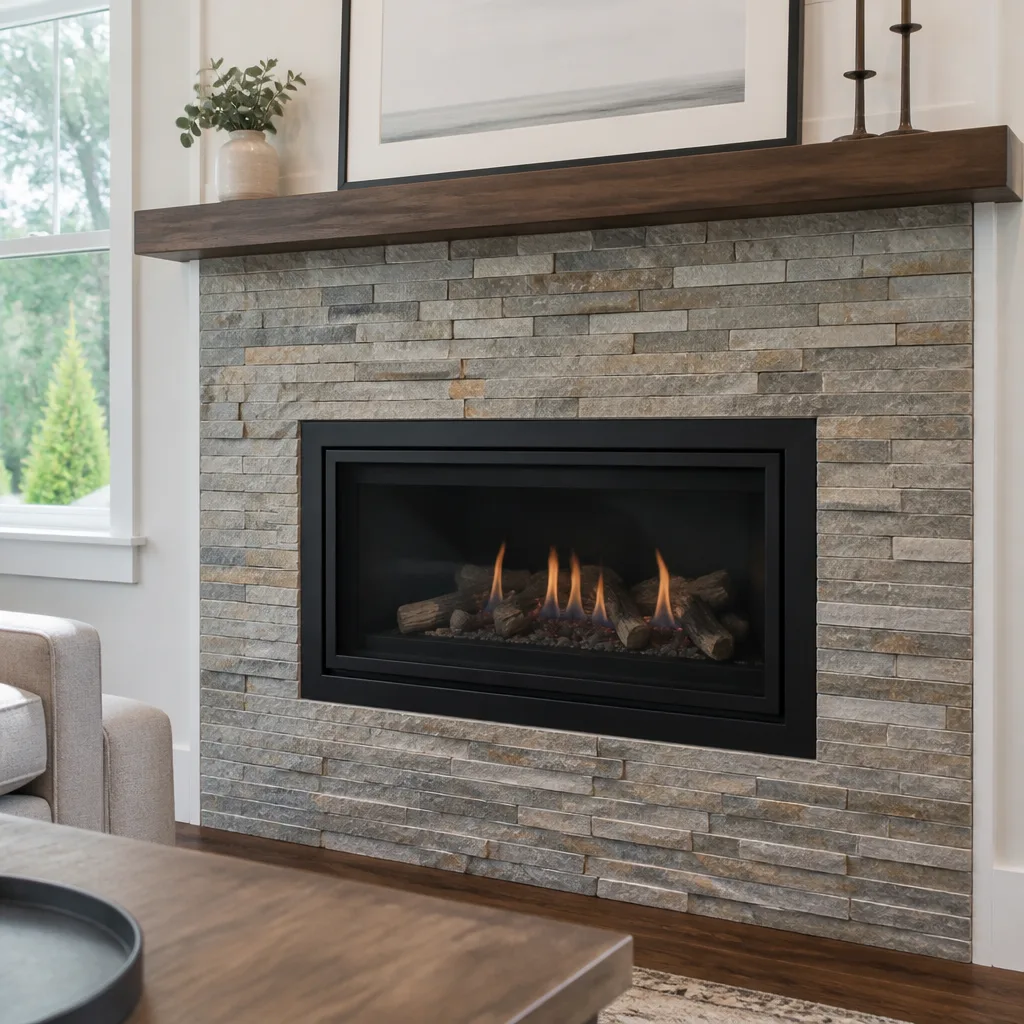
Level 1 sweep and inspection to the NFPA 211 annual standard - flue, crown, cap, and flashing checked and photographed
Chimney sweep logs do not sweep chimneys. They loosen some creosote - which then falls where a brush and vacuum still have to collect it.
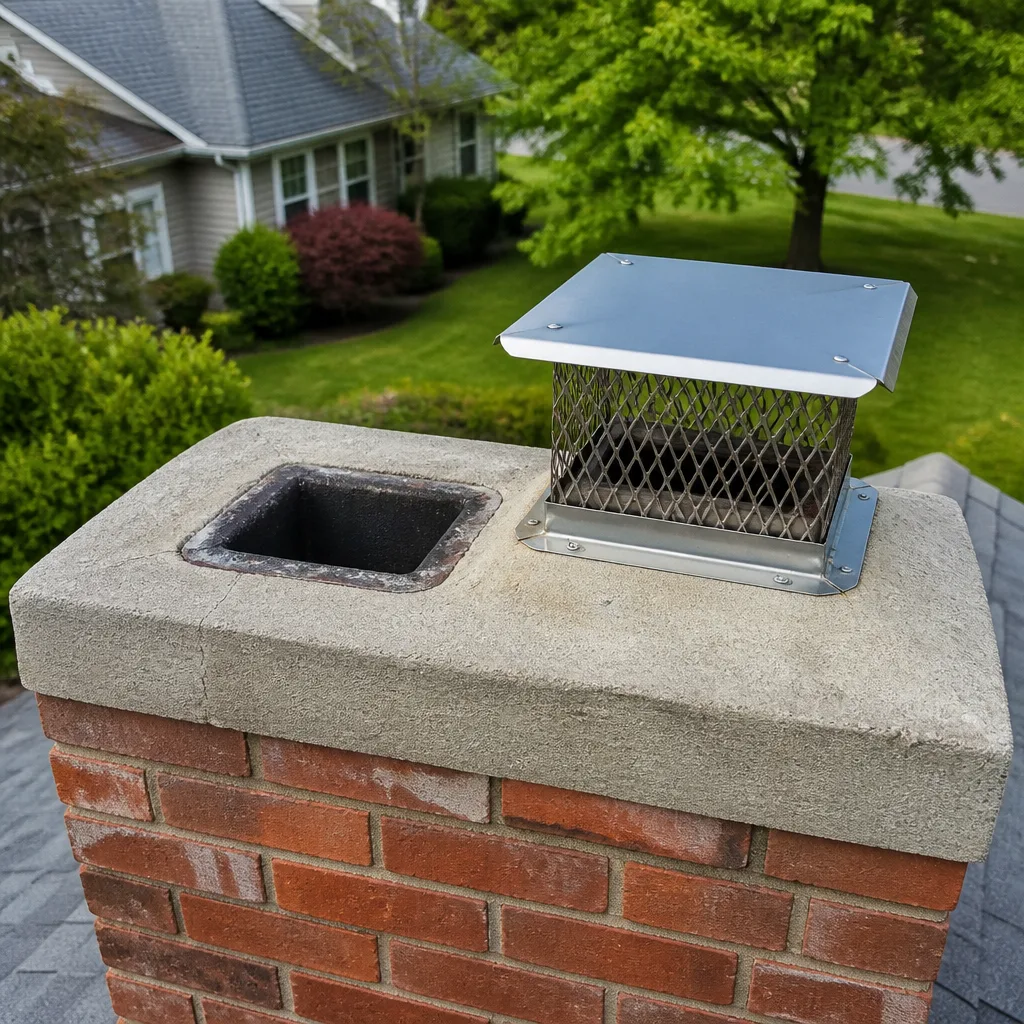
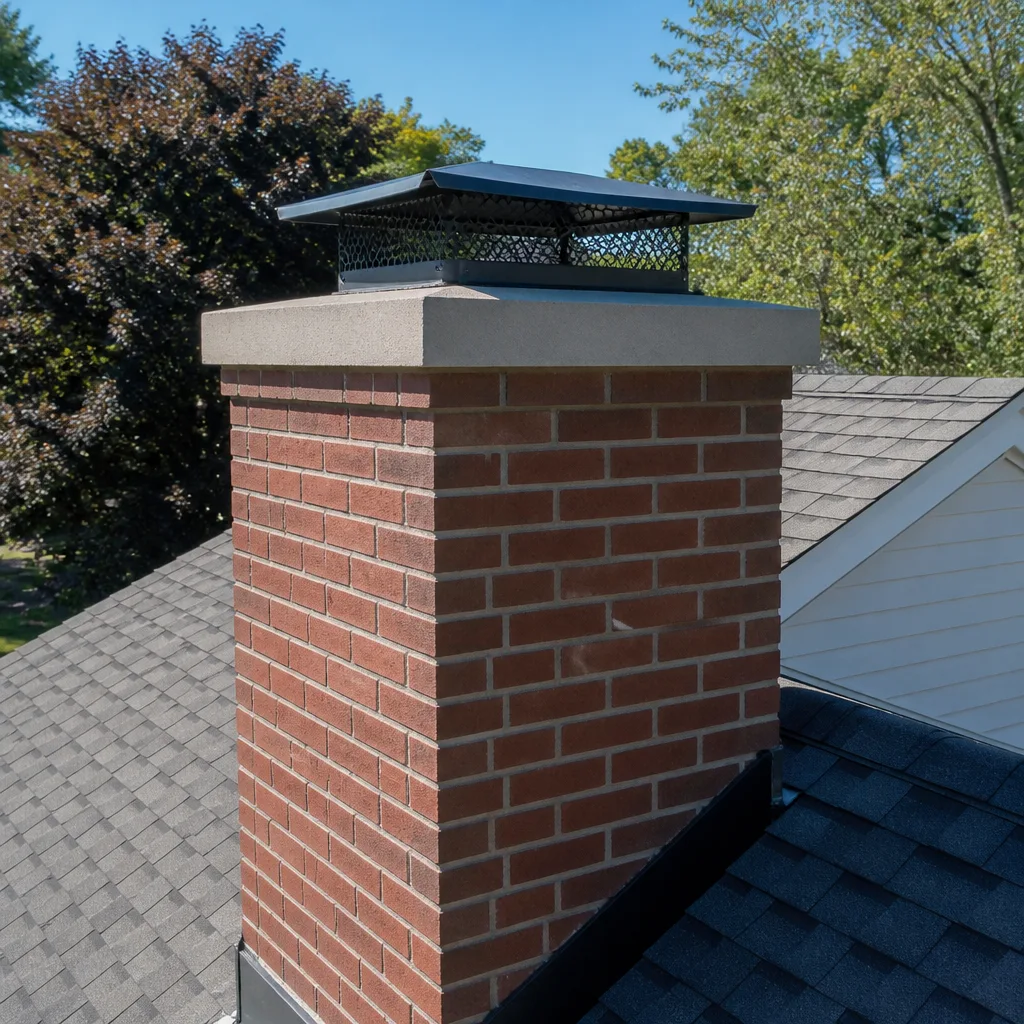
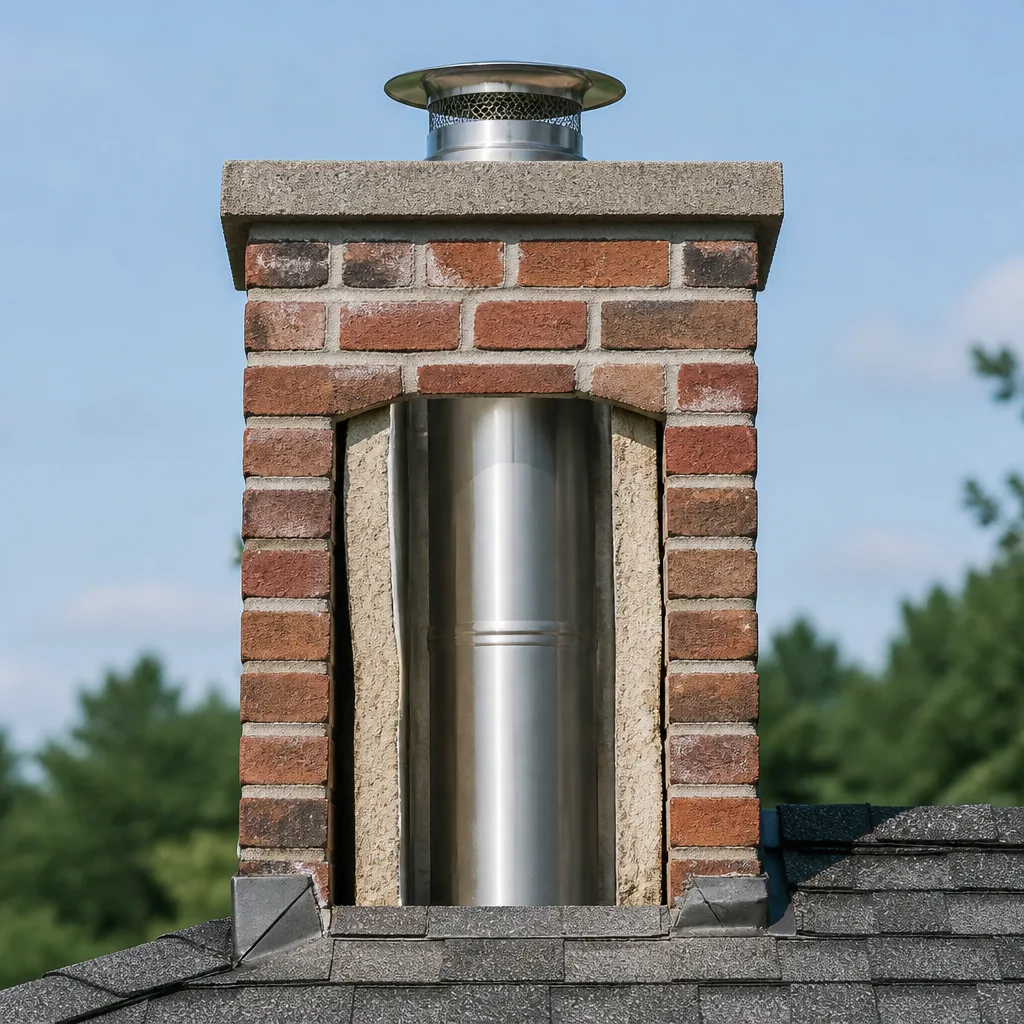
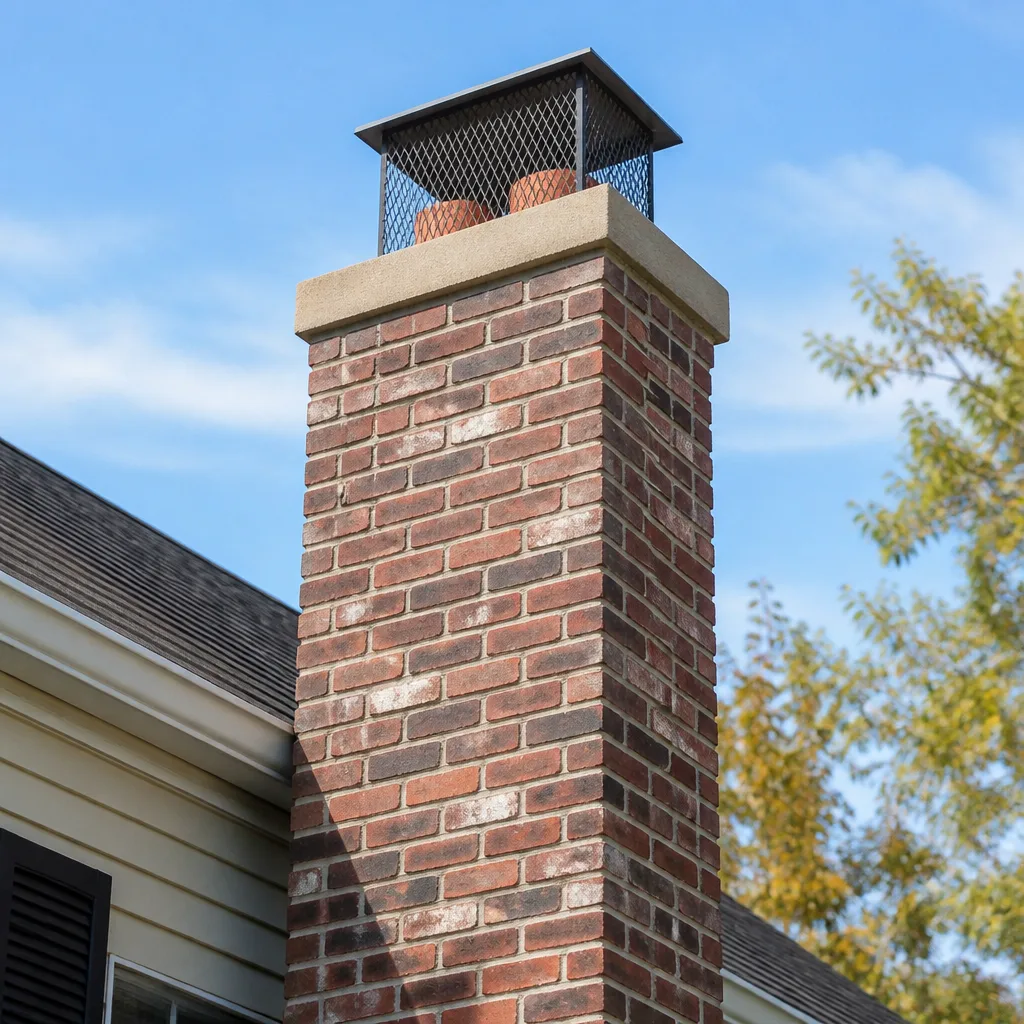
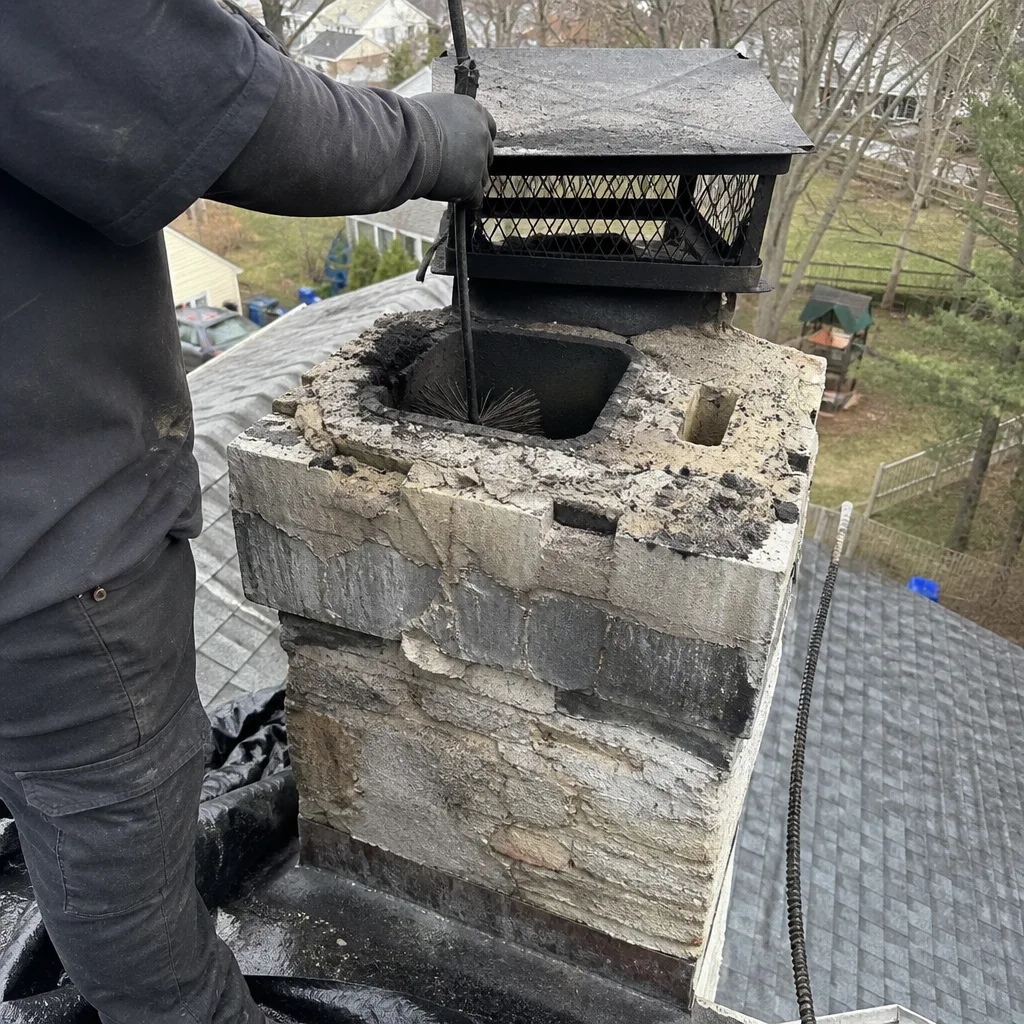 Before
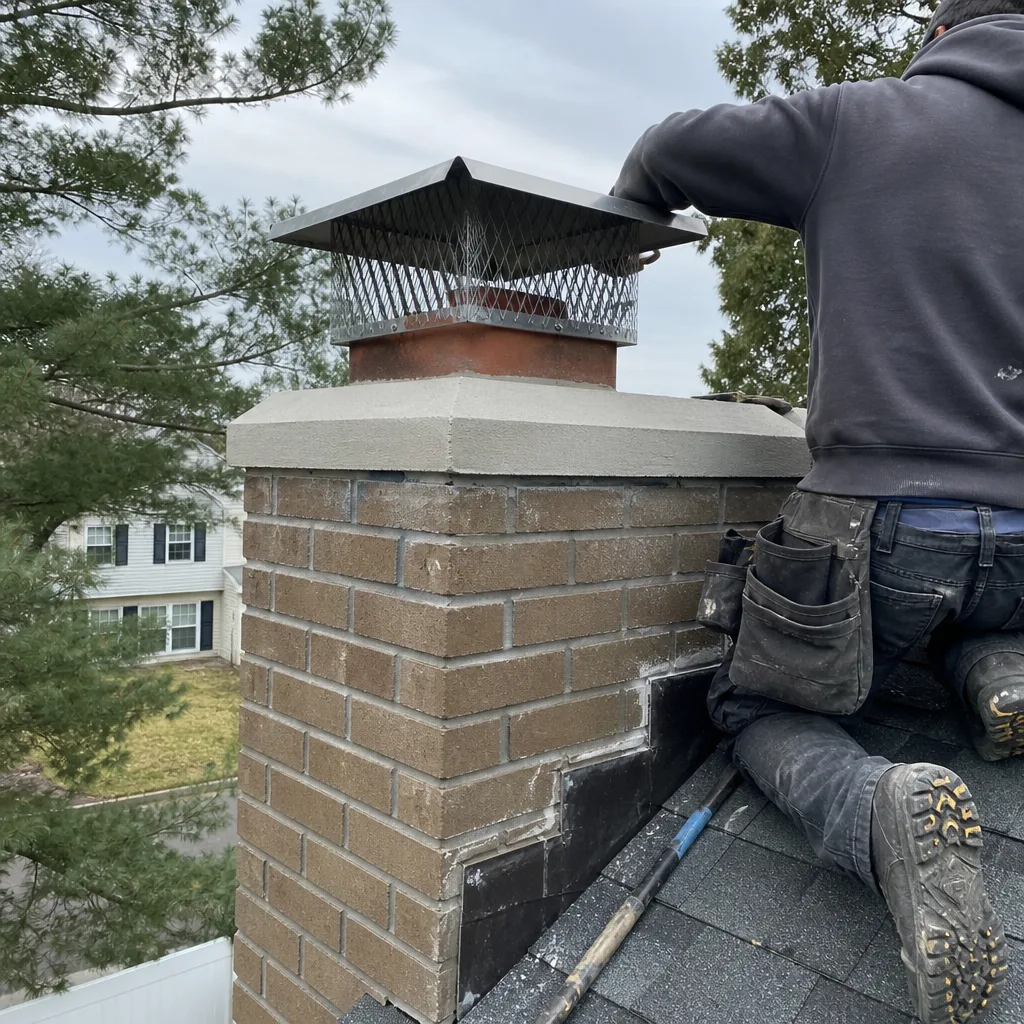 After
After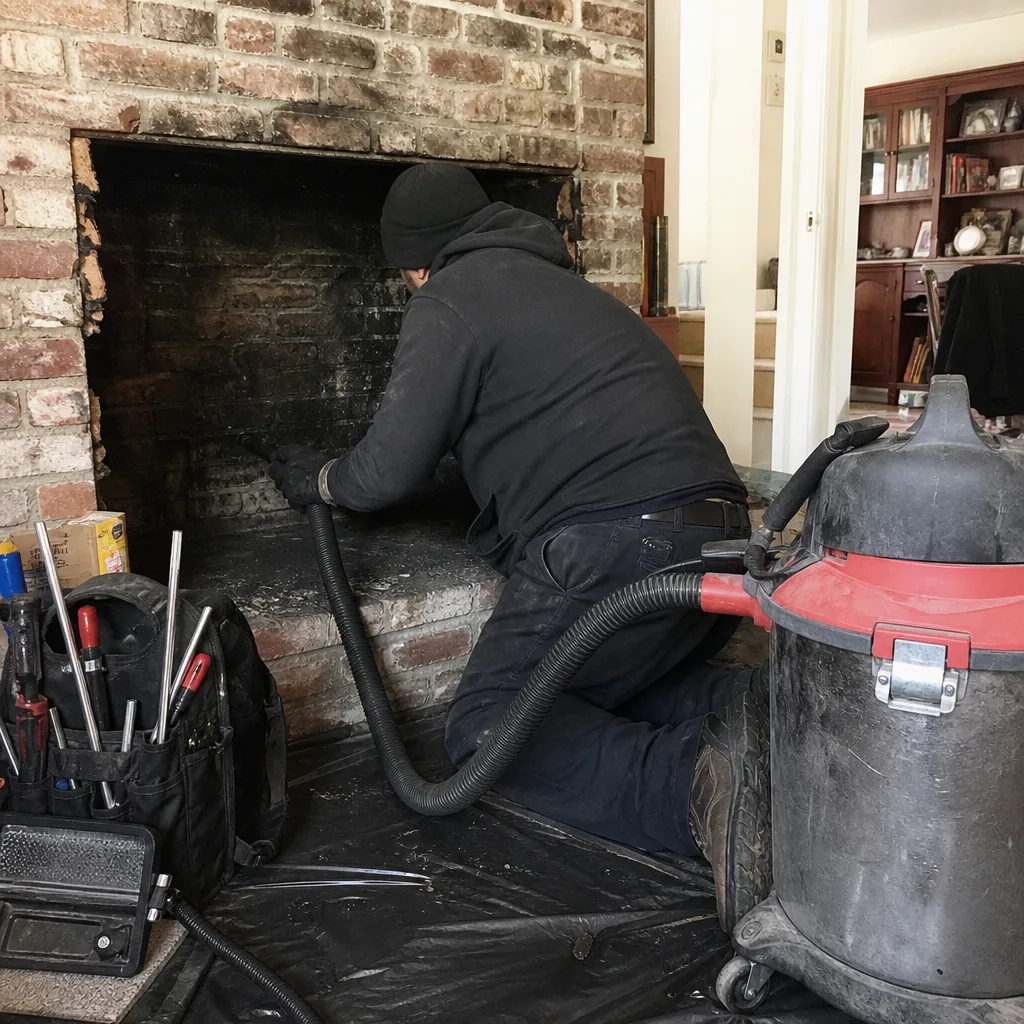 Before
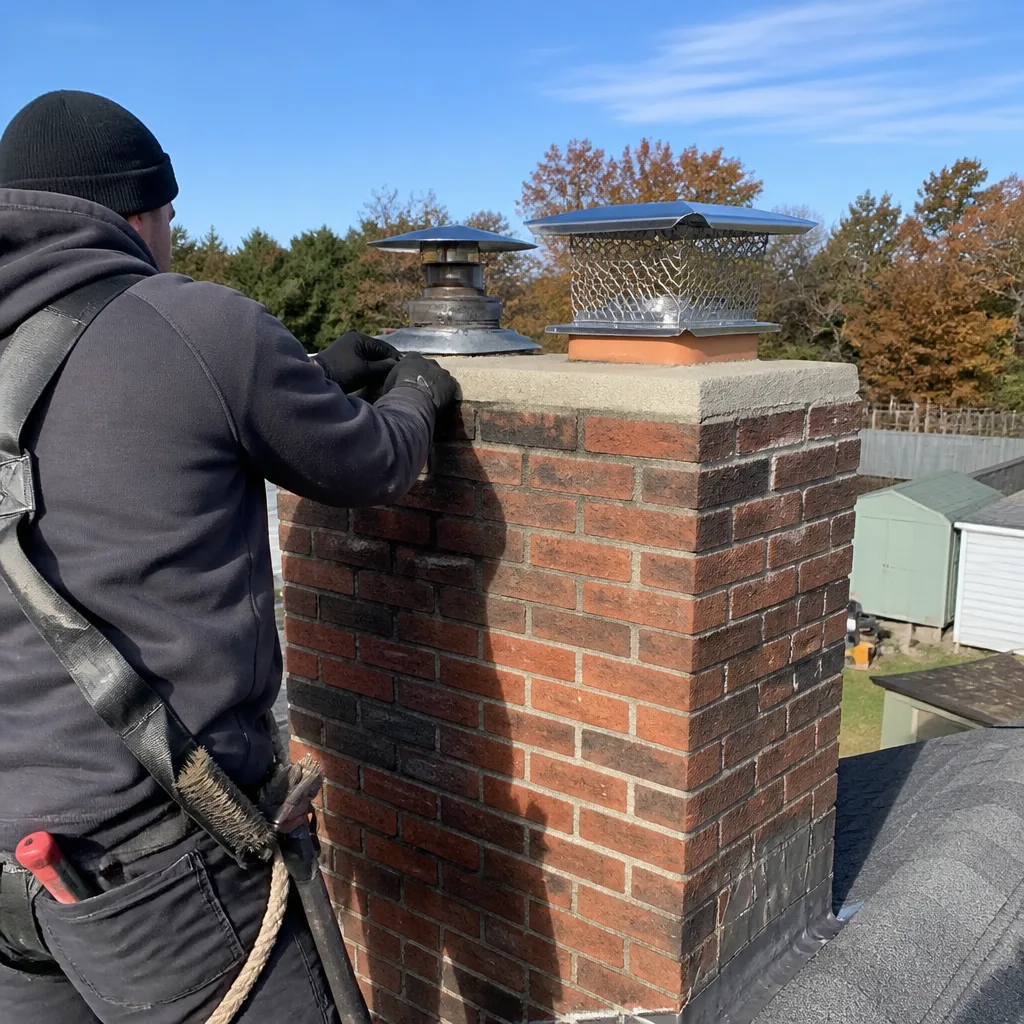 After
After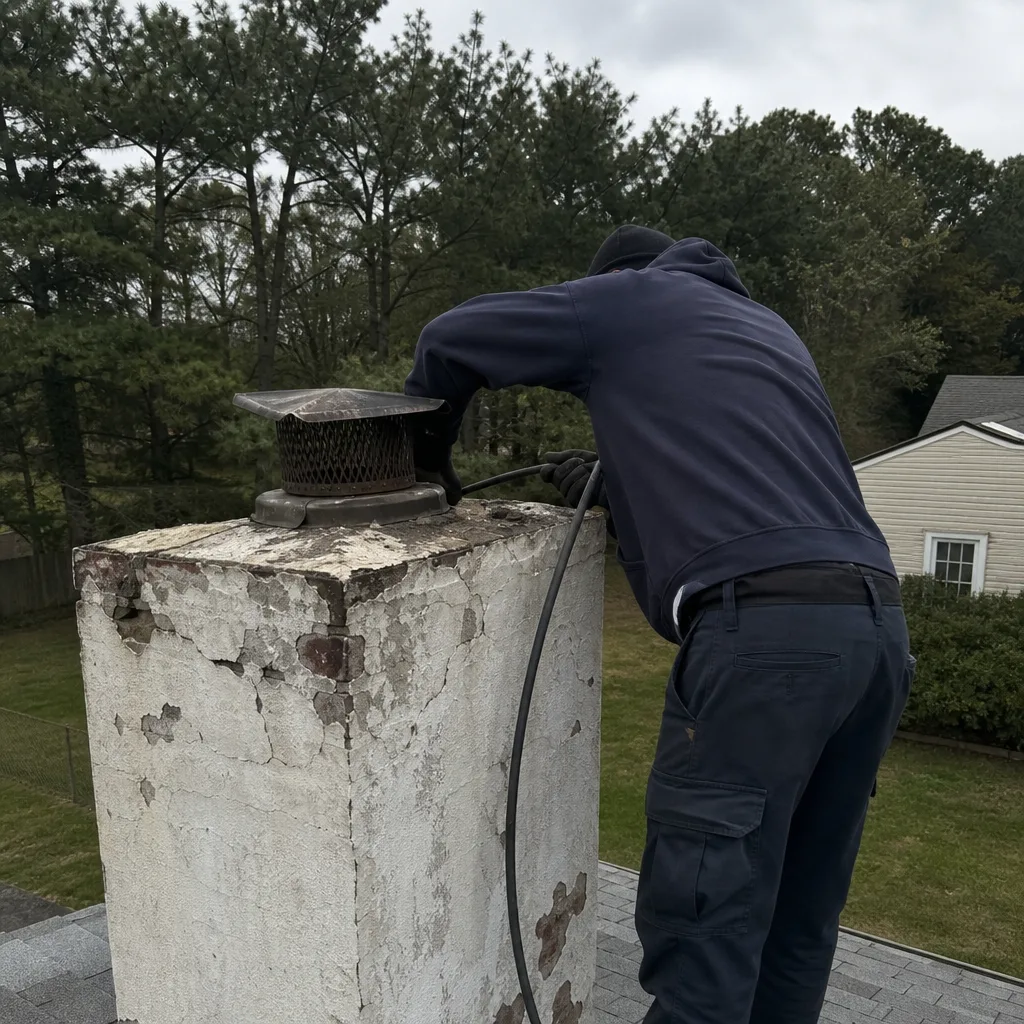 Before
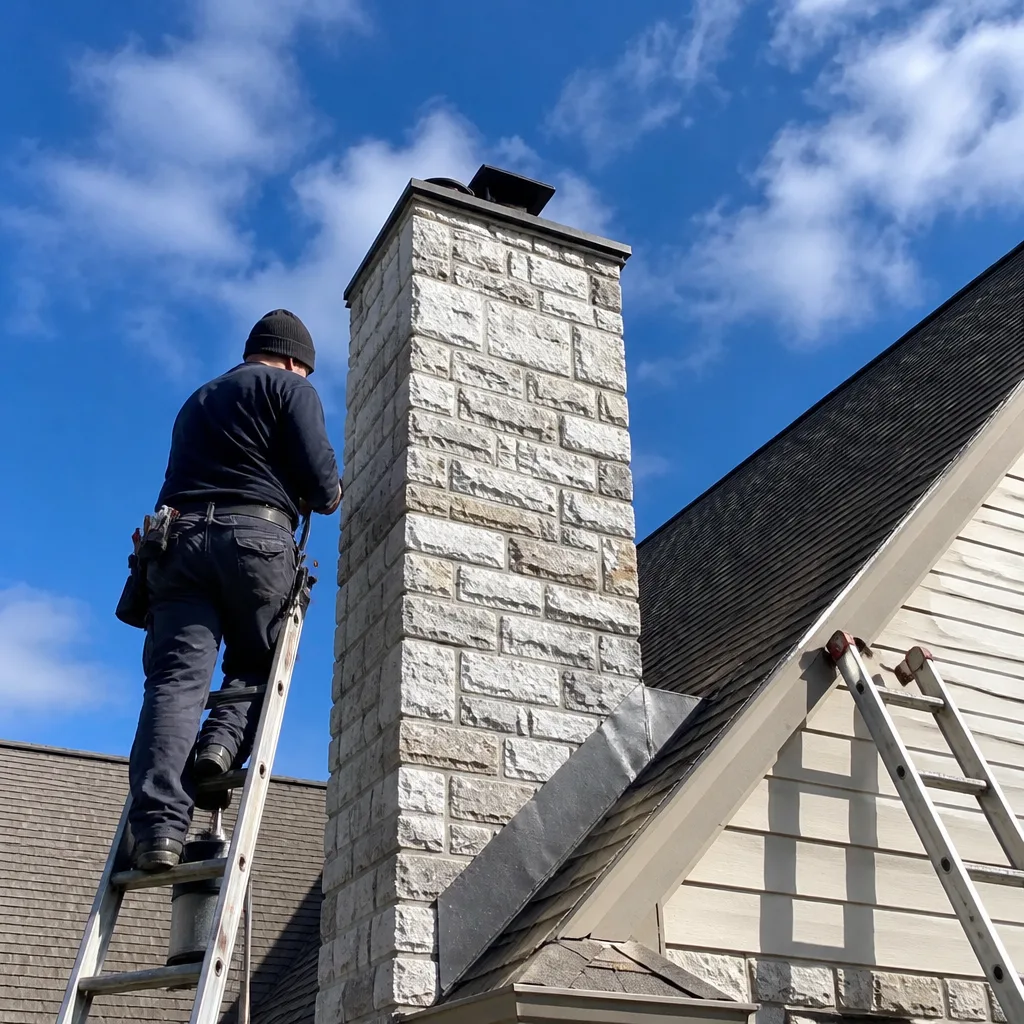 After
AfterChimney Cleaning & Sweep Maintenance Checklist for Brick Homeowners
Most chimney checklists floating around online were written by content farms that have never stood on a roof in Ocean County. A checklist with no context is just a liability shield for whoever handed it to you. If you don’t know why each item matters, you can’t tell whether the person inspecting it actually checked it. In 42 years of working on Brick homes, from the salt-weathered capitals along the Metedeconk to the tighter lots in Herbertsville, we’ve learned that chimneys fail in predictable patterns. This guide gives you a task-by-task maintenance checklist anchored to what actually breaks, not what’s easiest to inspect, and complements our The Complete Guide to Chimney Cleaning in Brick. You’ll know what to look for, when to look, and exactly when a finding means it’s time to pick up the phone.
Quick Answer
A proper chimney maintenance checklist for Brick homeowners includes three seasonal inspections per year (pre-season, mid-season, post-season), five components you can safely observe yourself between professional visits, and a documented photo log to track deterioration year-over-year. Professional our Chimney Cleaning & Sweep services with a Level-2 camera inspection should happen annually for wood-burning systems and every two to three years for gas, per New Jersey fire safety guidance. The total cost of neglect - chimney fires, carbon monoxide intrusion, and structural rebuilds - far exceeds the cost of scheduled maintenance.
Table of Contents
- The Seasonal Checklist: What to Do and When in Brick
- Five Components You Can Safely Check Yourself
- Why the Cap and Crown Need Their Own Section
- Building a Year-Over-Year Photo Log
- What Your Sweep’s Checklist Should Include
- What Maintenance Costs in Brick and How Often to Budget
- Common Mistakes to Avoid
- When to Call a Professional
- Frequently Asked Questions
- The Bottom Line
The Seasonal Checklist: What to Do and When in Brick
Brick’s burn calendar follows a clear rhythm. The first cold snap usually hits in late October, which means September is your last real window for pre-season preparation. January brings the heaviest use and the most freeze-thaw stress on masonry. April, after the final fire, is when hidden damage reveals itself. We’ve structured this checklist around that reality.
Pre-Season: September Tasks
- Schedule your professional sweep and inspection. Every year for wood-burning fireplaces, inserts, and stoves. Every two to three years for gas logs. In Brick, sweeps book solid by mid-October. Waiting until the first cold night means waiting three weeks.
- Visually inspect the firebox from the hearth opening. Look for cracked or missing firebrick, deteriorated mortar joints, and rust stains that suggest water intrusion. Note anything that changed from last year.
- Check the damper operation. It should open fully, close tightly, and show no warping or rust. A stuck damper is a carbon monoxide risk and a draft killer.
- Walk the exterior ground line. Look for brick fragments, pieces of flue tile, or white efflorescence on the chimney base. These are early warnings of crown failure or freeze-thaw damage.
- Trim overhanging branches within 10 feet. Brick’s mature oak canopy drops leaves directly into uncapped flues and provides ladder access for squirrels and raccoons.
Mid-Season: January Tasks
- Monitor draft performance. Smoke rolling into the room, difficulty starting fires, or cold air dumping down the flue when the damper is closed all signal blockages or pressure imbalances. In Brick’s tighter new construction, negative pressure from exhaust fans can overpower a marginal draft.
- Inspect visible interior masonry for new cracks. Thermal cycling during peak use opens hairline cracks fast. Document with photos.
- Check for water entry after every significant rain or thaw. Stains on the firebox walls, a musty smell, or dripping sounds during precipitation mean the cap or crown has failed. Ocean County’s freeze-thaw cycles turn small leaks into spalled brick within a single winter.
- Empty ash containers completely and inspect the ash dump door if equipped. Embers can smolder for days. In our experience, January house fires in Brick often trace to ash disposal, not chimney ignition.
Post-Season: April Tasks
- Conduct a full exterior inspection from ground and roof if safely accessible. Look for spalled brick faces, deteriorated mortar joints, leaning, or separation from the house. Spring is when winter damage is most visible.
- Photograph the cap, crown, and visible flue tile. Compare to your September and January photos. Incremental change is easy to miss without documentation.
- Schedule any needed repairs before the fall rush. Masonry work needs cure time. Crown coatings like HeatShield require specific temperature ranges for proper bonding. April scheduling in Brick means September readiness.
- Close the damper, but don’t seal the flue. Airtight sealing traps moisture. Slight ventilation prevents summer humidity buildup that accelerates liner corrosion.
The salt air coming off Barnegat Bay accelerates metal component corrosion and concrete crown deterioration compared to inland Ocean County. We’ve replaced caps in Brick that showed five years of rust in three. That environmental factor belongs in your checklist, not just your sweep’s.
Five Components You Can Safely Check Yourself
Between professional visits, there are five chimney components a homeowner can observe without ladders, tools, or risk. The key is knowing what you’re looking at and what specific finding means “call now” versus “note and monitor” - see our Chimney Cleaning Warning Signs: A Brick Homeowner’s Reference Guide for details.
1. The Firebox
Stand at the hearth opening with a flashlight. You’re examining the refractory panels or firebrick that contain the fire. What fails: thermal shock cracking, mortar joint erosion, and rust staining from water entry above.
- Call now: Through-cracks that let light or air pass to the surrounding structure; missing or loose firebrick; rust stains that are new or worsening.
- Note and monitor: Hairline surface cracks in refractory panels; minor mortar erosion less than 1/4 inch deep.
In Brick’s older homes, particularly in the Laurelton and Herbertsville sections built in the 1960s and 70s, we’ve seen original fireboxes with no refractory panels - just standard brick. These deteriorate faster and need closer watching.
2. The Damper
Open and close it fully. Look up the flue with a flashlight. What fails: warping, rust, creosote buildup on the plate, and failed seals that let cold air infiltrate.
- Call now: Damper that won’t open or close completely; visible gaps when closed; loud rattling during wind (indicates loose or broken components).
- Note and monitor: Slight stiffness in operation; surface rust without pitting.
3. The Smoke Chamber
Shine your flashlight up past the damper. You’re looking at the sloped walls that funnel smoke into the flue. What fails: parged surface deterioration, exposed corbelled brick, and creosote accumulation.
- Call now: Large areas of missing parging exposing rough brick; significant creosote buildup visible from below (shiny, tar-like, or puffy deposits).
- Note and monitor: Minor parging cracks; light soot coating.
The smoke chamber is where most chimney fires start. It’s also where the cheapest sweeps do the sloppiest work, because it’s hard to see and harder to reach. A proper sweep includes smoke chamber scraping and inspection.
4. The Exterior Masonry (Ground Inspection)
Walk the perimeter. What fails: spalled brick faces, deteriorated mortar joints, efflorescence (white mineral deposits), and leaning.
- Call now: Spalling affecting more than 10% of visible surface; mortar joints recessed more than 1/2 inch; any measurable lean; new cracks wider than 1/4 inch.
- Note and monitor: Isolated spalled brick; minor efflorescence; hairline cracks in crown only.
5. The Hearth and Surround
Check the floor protection and clearances to combustibles. What fails: cracked hearth stone, insufficient clearance, and heat-discolored surrounding materials.
- Call now: Any crack in the hearth that could let embers reach subflooring; combustible materials closer than code allows; visible charring or heat discoloration.
- Note and monitor: Surface scratches; minor staining.
New Jersey adopted IRC chimney clearance standards that vary by appliance type and installation date. If your Brick home has an older fireplace with what looks like tight clearances, a professional inspection determines whether grandfathering applies or upgrades are required.
Why the Cap and Crown Need Their Own Section
The chimney cap and crown are the most under-maintained components we encounter in Brick, and the most damaged by local conditions. They deserve separation from general masonry because their failure mode is different, their inspection requires specific attention, and their replacement cost is high enough that early detection matters.
The crown is the concrete slab that tops the masonry, sloped to shed water. The cap is the metal cover that shelters the flue opening. They work together. When either fails, water enters the flue, saturates the liner, and begins freeze-thaw destruction of the surrounding brick.
Brick’s salt-air environment is unusually aggressive to both. The sodium chloride aerosol from Barnegat Bay accelerates rebar corrosion in concrete crowns and rusts standard galvanized caps prematurely. We’ve documented crown failure in Brick homes at eight to ten years that would last fifteen inland. Caps from big-box stores with thin-gauge metal often show through-rust in four to five years.
Crown Inspection Checklist
- Visual cracks wider than 1/8 inch, especially at the flue tile interface
- Loss of slope - water pooling instead of shedding
- Spalling or flaking concrete surface
- Evidence of previous patching that has failed
- Gap or separation between crown and flue tile
Cap Inspection Checklist
- Rust spots, especially at seams and attachment points
- Mesh screen deterioration or detachment
- Improper fit - gaps larger than 1/2 inch around flue tile
- Missing or loose mounting hardware
- Evidence of animal entry (nesting material, droppings, damage)
When replacement is needed, we specify professional-grade materials. Gelco stainless caps with proper mesh sizing exclude animals while maintaining draft. Copperfield components offer extended service life in salt-air environments. Crown repairs using HeatShield or pourable crown sealants require proper surface prep and cure conditions - not a weekend handyman project.
A proper cap and crown installation in Brick typically runs $400 to $900 depending on flue count and access. Deferred replacement that leads to interior water damage and brick rebuilding can exceed $4,000. The math is straightforward.
Building a Year-Over-Year Photo Log
Chimney deterioration is incremental until it isn’t. The crack that was hairline last September is through-wall this April. Without documentation, you can’t distinguish urgent change from long-standing condition. More importantly, neither can the contractor you’re evaluating.
We’ve seen homeowners in Brick pay for “necessary” crown rebuilds on damage that existed unchanged for a decade, and we’ve seen equally diligent homeowners miss a leaning chimney until it separated from the house. A photo log prevents both errors.
How to Structure Your Log
- Take the same four shots every time: wide exterior from ground level; close-up of cap and crown from the safest accessible position; firebox interior with damper open; smoke chamber view with flashlight.
- Use consistent lighting and angle. Midday, sunny, same standing position. Shadows obscure cracks; flash photography flattens depth.
- Date every image and store in a dedicated folder. Cloud backup preferred. These are evidence if warranty or insurance questions arise.
- Include a scale reference. A coin or ruler against cracks provides objective measurement. “Wider than a quarter” is more useful than “pretty big.”
- Annotate findings at the time. Memory degrades. Note what you saw, what you weren’t sure about, and what you intended to monitor.
When you call for service, share relevant photos before the technician arrives. A chimney repair in Brick estimate prepared with advance documentation is more accurate and less subject to on-site upselling. At Hearthstone, we review homeowner photos during scheduling to route the right technician with the right materials.
After 42 years, we can estimate repair scope from good photographs with surprising accuracy. The homeowner who calls with three years of dated crown photos gets a different conversation than the one who noticed staining last week.
What Your Sweep’s Checklist Should Include
This is where most homeowners are flying blind. You receive an invoice that says “chimney swept and inspected.” You have no idea what was actually done, what was found, or whether the technician spent twenty minutes or two hours on your roof. A proper sweep’s checklist, which you have every right to request and review, should contain specific items with specific findings.
Mandatory Elements of a Professional Sweep Report
- Pre-inspection exterior photo documentation - dated, with homeowner-visible reference points
- Flue condition assessment - liner type, visible defects, creosote grade and thickness (measured, not estimated)
- Smoke chamber inspection - parging condition, clearance to combustibles if accessible
- Damper operation and condition - including seal test result
- Firebox inspection - refractory or firebrick condition, mortar joint status
- Crown and cap condition - with specific measurements of cracks, slope loss, or rust
- Exterior masonry assessment - spalling, mortar recession, lean, separation
- Clearance verification - hearth extension, mantel clearance, combustible proximity
- Post-service photo documentation - cleaned flue, addressed areas, any remaining concerns
- Plain-English verdict - what needs attention now, what can wait, what to monitor
At Hearthstone Chimney Co. home, our Level-2 inspections include camera footage the homeowner can see, with the technician narrating findings in real time. Photos are archived with the work order. The 90-Day Done Right Promise applies to every sweep - if it’s not done right, we make it right, in writing, no arguing.
Be wary of any sweep who won’t provide written findings, who discourages your presence during inspection, or whose “checklist” is a carbon-copy form with no specific observations. In Brick’s competitive market, we’ve encountered operators who bill for sweeps they never performed and inspections they never conducted. A detailed, photo-backed report is your protection.
What Maintenance Costs in Brick and How Often to Budget
Chimney maintenance in Brick follows predictable cost bands. Understanding them helps you budget and evaluate estimates. These ranges reflect our 2024-2025 pricing for typical Brick homes; complex access, multiple flues, or extensive creosote may adjust upward.
| Service | Typical Range | Frequency |
|---|---|---|
| Standard sweep and Level-1 inspection | $189 - $289 | Annual (wood); every 2-3 years (gas) |
| Level-2 inspection with camera | $289 - $449 | At property transfer, after chimney fire, or when changing appliance type |
| Crown repair or coating | $450 - $950 | As needed, typically 10-15 year intervals |
| Stainless cap installation (single flue) | $280 - $450 | As needed, 15-20 years in salt air |
| Firebox refractory panel replacement | $380 - $750 | As needed |
| Damper repair or replacement | $320 - $680 | As needed |
The fireplace services in Brick market includes seasonal promotions that can reduce these costs. Our standing $89 Seasonal Tune-Up covers basic sweep and inspection for qualifying systems. The permanent 5% Senior and Veteran discount applies to all services. We also offer $50 off any repair over $250, and free second opinions on any written estimate you’ve received.
Budget annually for the sweep. Set aside a maintenance reserve for cap and crown work every ten to fifteen years. The homeowners who struggle are those who defer everything until failure forces emergency spending.
Common Mistakes to Avoid
- Treating gas fireplaces as maintenance-free. Gas systems produce corrosive condensation, attract nesting animals through uncapped flues, and develop valve and burner issues. The “clean gas” myth costs Brick homeowners thousands in liner replacements.
- Hiring based on lowest price without verifying what’s included. A $99 sweep that omits smoke chamber access, uses no camera, and provides no written report is not a bargain. It’s a liability.
- Ignoring the cap because “it looks fine from the ground.” Cap failure begins at the flue interface and mounting points, invisible from below. Annual close inspection catches rust before it becomes water intrusion.
- Assuming new construction chimneys need no early inspection. We’ve found code-deficient installations in Brick homes less than five years old: improper clearances, unlined flues, and crownless masonry. The builder’s warranty inspection is not a chimney specialist’s inspection.
- Using the fireplace as a dehumidifier or air mover. Running the damper open in summer to “air out the house” draws humid coastal air down the flue, accelerating liner corrosion and odor issues.
- DIY creosote removal with inappropriate tools. Wire brushes damage stainless liners. Improper rods can separate and lodge in the flue. Creosote falling into an uninspected smoke chamber creates a fire hazard. This work belongs to equipped professionals.
- Waiting for visible interior damage before acting. By the time you see water stains on the ceiling near the chimney, the damage path runs through multiple layers of structure. Exterior preventive maintenance is always cheaper than interior repair.
When to Call a Professional
Some findings demand immediate professional assessment: smoke entering the living space during normal operation; visible flames or glowing material in the flue outside the firebox; sudden draft reversal that persists; masonry separation from the house structure; or water entry during active burning. These are safety emergencies, not scheduling preferences.
Schedule non-urgent professional evaluation when: your annual sweep is due; you’ve purchased a home and have no documentation of prior service; you’re changing appliance type (wood to gas, insert installation); or your self-inspection reveals any “call now” finding from the component checklists above.
Hearthstone Chimney Co. offers free estimates in Brick. Call (609) 657-3371. A live person answers, 24 hours a day, every day. We’ll review any photos you’ve gathered, explain what we’re seeing, and give you a plain-English verdict with no pressure to book. Background-checked, uniformed technicians complete most jobs in a single visit, with no-hassle upfront pricing - the number on the estimate is the number on the invoice.
Frequently Asked Questions
A standard chimney sweep with Level-1 inspection in Brick typically costs $189 to $289 for a single-flue system. Level-2 camera inspections run $289 to $449. Factors affecting price include flue count, creosote buildup severity, roof access difficulty, and whether the system is wood-burning or gas. Our $89 Seasonal Tune-Up offers reduced pricing for qualifying systems during pre-season scheduling. Call (609) 657-3371 for an exact quote - estimates are free.
Wood-burning fireplaces, stoves, and inserts should be swept annually, preferably in September before the heating season. Gas systems need professional inspection every two to three years. Heavy use - more than three fires weekly during season - may warrant mid-season evaluation. The National Fire Protection Association Standard 211 recommends annual inspection of all chimney systems regardless of fuel type. In Brick’s salt-air environment, we advise erring toward more frequent exterior component checks.
You need a new liner when the existing one is damaged, improperly sized, or absent - and only when camera inspection or other definitive testing confirms the condition. Common indicators: visible cracks, gaps, or corrosion in metal liners; spalled or missing clay flue tiles; tar-like creosote glazing that indicates improper draft; or a change in appliance type that renders the existing liner incompatible. At Hearthstone, we show you the camera footage and explain the finding before recommending replacement. Nothing is suggested without evidence you can see yourself. Call (609) 657-3371 if you’ve been told you need a liner and want a free second opinion.
Skipped maintenance leads to three predictable outcomes, in rough order of severity: creosote accumulation increases chimney fire risk, with Brick seeing several preventable flue fires each winter; water intrusion degrades masonry and liner, eventually requiring rebuild rather than repair; and carbon monoxide can enter living spaces through cracked liners or blocked flues, with no odor or visible warning. The cost of scheduled maintenance is a fraction of emergency remediation, and the safety difference is not comparable. Call (609) 657-3371 to schedule before the season turns.
You can perform the five component inspections described in this guide safely from the ground and hearth. Actual flue sweeping requires specialized equipment, roof access training, and knowledge of liner-specific brush requirements. Wire brushes damage stainless steel liners. Improper technique can compact creosote rather than remove it. And chimney fires, carbon monoxide exposure, and falls from height are genuine hazards. We recommend professional service for the sweep itself, with homeowner monitoring between visits. For chimney cleaning and sweep in Brick, trained technicians handle the risks you shouldn’t take.
Summer chimney odor in Brick typically traces to three causes: creosote deposits absorbing humid air and releasing acidic compounds; animal nesting or decomposition in an uncapped flue; or negative air pressure drawing downdrafts through the system. The salt-air humidity of coastal Ocean County exacerbates the first two. A proper sweep removes odor-source deposits. Cap installation excludes animals. Pressure balancing may require HVAC assessment. Masking the smell with deodorants or chimney balloons treats symptoms, not causes.
A Level-1 inspection is visual and accessible - what can be seen from the hearth and ground-level exterior without tools or damage to building components. It’s appropriate for annual maintenance of systems with no changes. A Level-2 inspection adds internal camera examination of the flue and smoke chamber, accessible attic and crawl space evaluation of clearances, and inspection of any portions that would be examined during chimney liner installation. It’s required at property transfer, after chimney fires or seismic events, and when changing appliance type. In Brick’s competitive real estate market, we recommend Level-2 inspections for all home purchases - the cost is modest compared to discovering hidden defects after closing.
The Bottom Line
A chimney maintenance checklist is only as good as the understanding behind it, and we offer more guides & resources to help. For Brick homeowners, effective maintenance means three seasonal inspections aligned to local burn patterns, five components you can monitor yourself between professional visits, dedicated attention to cap and crown in salt-air conditions, photo documentation that reveals change over time, and a sweep’s checklist you can use to verify the work was actually performed. The cost of this discipline is modest. The cost of neglect is not. Done right - and we stand behind it.
Written by Russell Haines, Owner at Hearthstone Chimney Co., serving Brick since 2014.